By Leigh O’Connor.
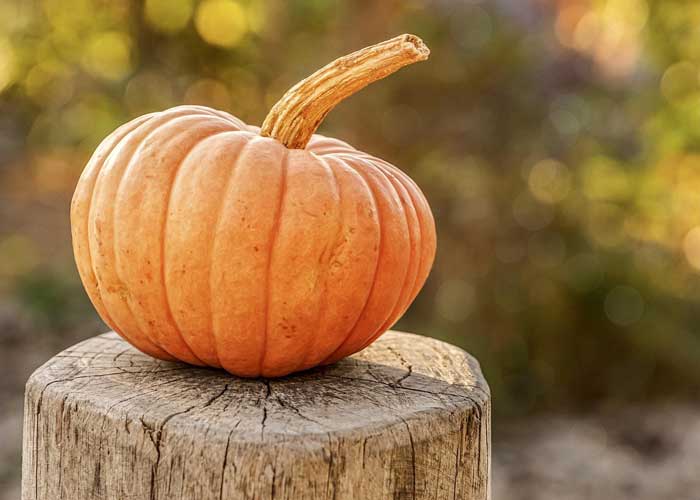
Pumpkins go hand in hand with Halloween and carving them into jack-o-lanterns has become an art form in itself. Originating hundreds of years ago in Ireland when the lanterns were made out of turnips or potatoes, it was when Irish immigrants arrived in America that the pumpkin ritual was born.
A member of the gourd family which includes cucumbers, melons and zucchini, pumpkins are versatile plants rich in vitamins and nutrients. Used for soups, desserts and breads as well as traditional roasts, pumpkins are categorised as a member of the fruit fraternity because of their seeds.
They can grow to massive sizes - the heaviest recorded pumpkin in the States was more than 820 kg, while the largest pumpkin pie ever baked weighed more than 915 kg. It’s not just the flesh that can be used for cooking, the seeds and flowers are also edible, so don’t throw anything away after carving your lantern.
Roasted pumpkin seeds are a delicious treat and well worth the effort to make a salty, crunchy, toasty snack. Clean and dry the seeds, toss with oil, salt and any desired seasonings and roast in the oven on low until golden brown, then store in an airtight container and enjoy with a cold beer on a hot day.
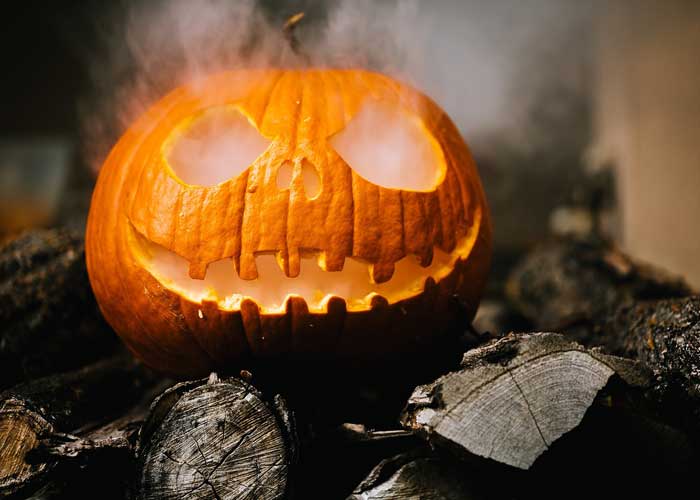
It’s on All Hallows’ Eve when this humble orange fruit becomes the star of the show, as tricksters carve individual designs for all to see and admire. Follow our step-by-step instructions for the perfect pumpkin lantern and watch the rapture on the faces of all who come looking for a treat.
1) Buy a pumpkin from your local supermarket or fruit and veggie shop, making sure it is a good size with little visible damage marks.
2) Draw a circle around the stem on the top where you want the lid to go. Make sure it is big enough to fit your arm and a scraping tool through (about 15 cm).
3) Cut out the lid at an angle, with the tip of the knife facing the centre of the pumpkin, so that the lid doesn’t fall inside. You may want to cut a small notch into the lid too.
4) Use a spoon to clean out the inside of the pumpkin, scraping away the walls until they’re about 2 cm thick. There should be no seeds or pumpkin strings left.
5) Wipe down the inside with a paper towel and leave it to dry overnight.
6) Select and draw a pattern that suits your carving ability - thinner bits will be harder to cut out - and also pick one that suits the size of the pumpkin.
7) Put the pattern onto the pumpkin, taping it down using masking tape. Use a washable marker to draw the pattern directly onto the pumpkin.
8) Carve the pumpkin, starting by getting a pin or thin poking device like a screwdriver. Make small dots in the pumpkin around the edges of the shape you’re going to cut out, keeping them close together. Get a pumpkin carving knife (most normal sharp kitchen knives will work) and poke it all the way through the edge of one of the shapes.
Alternatively, you can make your pumpkin glow by using a chisel knife (you can buy them from most art stores) to glide along the pumpkin, following the edge of the design. Remove only the top layer of skin, don’t poke all the way through.
Slowly move the knife around the shape following the dots. Once you’ve gone all the way around, push the shape out and carefully run your knife around the edge again to neaten it up. Repeat for each stage.

9) Decorate further if desired. Add food colouring, reuse the cut-out pumpkin pieces or insides as part of the design, or stick skewers into the pumpkin to look like arms or hair.
10) Put a lighted candle or electronic light inside.